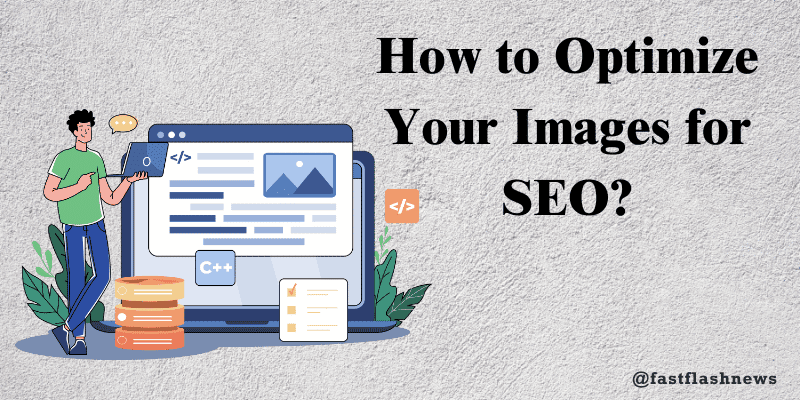
In the ever-evolving world of SEO, image optimization often gets overlooked. However, optimizing images for SEO is a crucial part of an effective SEO strategy.
Properly optimized images can improve your website’s load speed, user experience, and search engine rankings. In this guide, we’ll walk you through the steps to optimize your images for SEO, ensuring they contribute positively to your site’s performance.
Why Image Optimization Matters
Let’s quickly go over the significance of picture optimization before getting into the how-to:
1. Faster Loading Speed:
Your website may load more slowly with large, poorly optimized images, which increases bounce rates. Faster loading times for optimized photos improve user experience.
2. Better User Experience:
Quickly loaded photos give visitors a better online experience and keep them coming back.
3. Improved SEO:
User experience and page speed are ranking considerations for search engines. These measurements are enhanced by optimized photos, which also help your site’s SEO.
Steps to Optimize Your Images for SEO
Choose the Right File Format
The first step in optimizing your photographs is to choose the right file format.
• JPEG: Perfect for pictures and graphics with lots of colours. They provide a decent trade-off between file size and quality.
• PNG: Ideal for graphics and photos with transparent backgrounds. PNGs have bigger file sizes yet maintain better quality.
• WebP: A more recent format with better quality and compression. Most contemporary browsers support it.
Compress Your Images
File size can be decreased by image compression without noticeably sacrificing quality. For this, a number of tools are available:
• Online Tools: You can easily compress photos using websites like Optimizilla and TinyPNG.
• Software: Compression options are included into Photoshop and other picture editing programs.
• Plugins: Smush and ShortPixel are two WordPress plugins that can automatically compress images as you upload them.
Resize Images Appropriately
Make sure your photos are the right size for the purposes for which they are meant. It is inefficient to upload large photos and then rely on HTML or CSS to resize them. Rather, resize pictures to the precise measurements required:
• Hero Images: These should be optimized for speed yet large enough to show up clearly on larger screens.
• Thumbnails: Tiny representations of larger photos that are utilized as previews or in galleries.
• Blog Post Images: Adjust their size to match the blog layout’s content section.
Use Descriptive File Names
Search engines can better comprehend the substance of your photographs if your file names are descriptive. Use a descriptive name, such as “blue-summer-dress.jpg,” instead than a generic one, like “IMG_1234.jpg.” This procedure gives context and helps with picture search rankings.
Optimize Alt Text
Screen readers and search engines use alt text, or alternative text, to explain an image’s content. It’s essential for both SEO and accessibility. Observe these rules:
• Be Descriptive: Give the image a clear description.
• Employ Keywords: Don’t cram your content with irrelevant keywords; instead, use them organically.
• Specify: Steer clear of ambiguous descriptions. Give as much information as you can.
Add Captions
Your photographs gain context via captions, which improves the user experience. Additionally, search engines index them, which help with SEO. To add more information or to summarize the picture, use the captions.
Implement Lazy Loading
The loading of images is postponed until they are required via lazy loading. This technique speeds up a page’s first load, particularly for pages with lots of graphics. Lazy loading is supported by most contemporary WordPress plugins and web frameworks.
.Create an Image Sitemap
Search engines can find and index all of the images on your website with the use of an image sitemap. Add details about the pictures, including the locations and descriptions. You can enhance picture indexing by submitting an image sitemap to Google.
Tools for Image Optimization
The following resources can assist you in optimizing your images:
- Tiny PNG/Tiny JPG:Reduce picture size without sacrificing quality.
- ImageOptim:A Mac tool for lowering the size of image files.
- Kraken.io:A WordPress plugin-based online image optimizing tool.
- Squoosh:A Google web application for picture reduction.
Improving the performance of your website begins with optimizing your photos for search engines. You may improve your site’s load speed, user experience, and search engine rankings by implementing lazy loading, adding captions, compressing and resizing photos, employing descriptive file names and alt text, choosing the appropriate file format, and building an image sitemap. Begin improving your photos right now to observe the impact!
Good explanation about image optimization thanks……………..,keep going 👍
Thanks for your feedback, Connect with us for more informations